10 Dining Room Hutch Decor Ideas That Look Effortlessly Collected
Your dining room hutch deserves more than a random stash of plates and a dusty teapot.
Think of it like your home’s jewelry box—part display, part story, and all personality. If it’s feeling cluttered or flat, no worries.
These 10 ideas will help you style your hutch like a pro without making it look like a store display.
1. Curate a Color Story (And Stick to It)
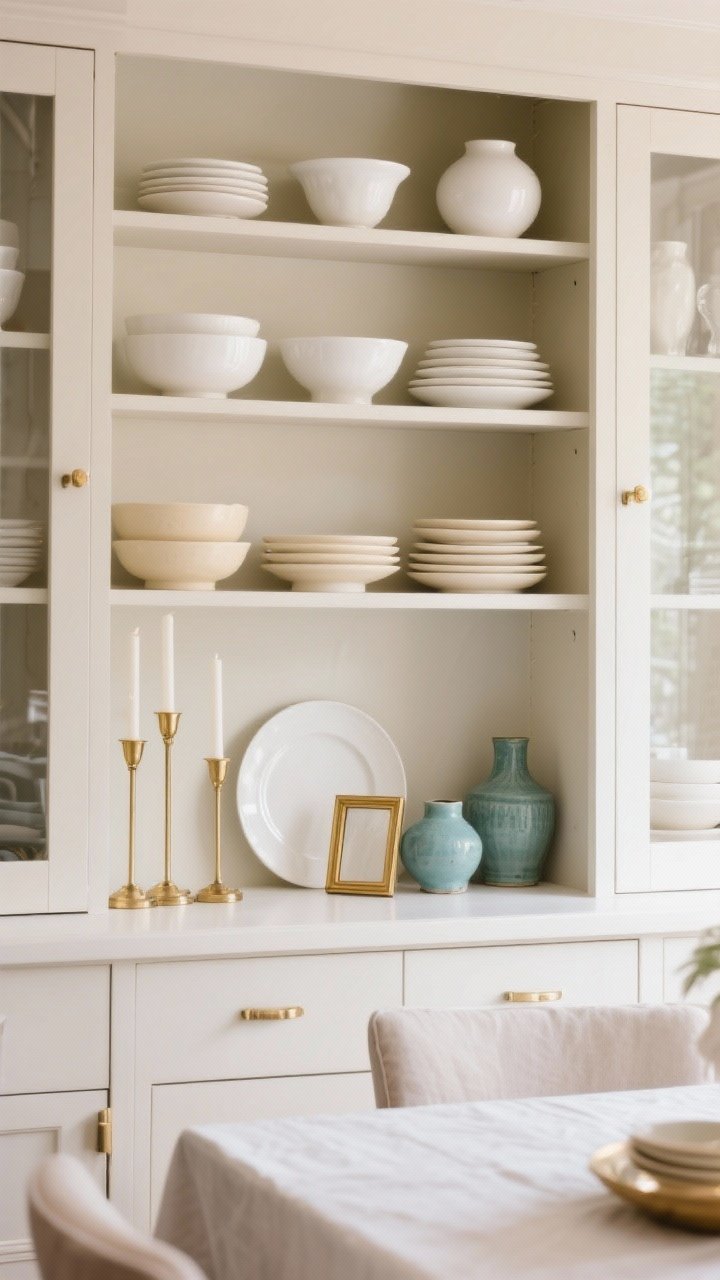
A cohesive color palette makes everything instantly look intentional. Choose two main colors and one accent, then repeat them in different textures and finishes throughout your hutch. It’s the easiest way to go from chaotic to curated.
How to choose your palette
- Neutrals + Metallic: White, beige, and brass for a classic, airy vibe.
- Monochrome: All-white or all-black with subtle variations. So chic.
- Soft Contrast: Creams with muted blues or greens for a calm, coastal feel.
Pro tip: If you love color, keep the back of the hutch neutral so your pieces pop instead of competing.
2. Layer Heights Like a Stylist
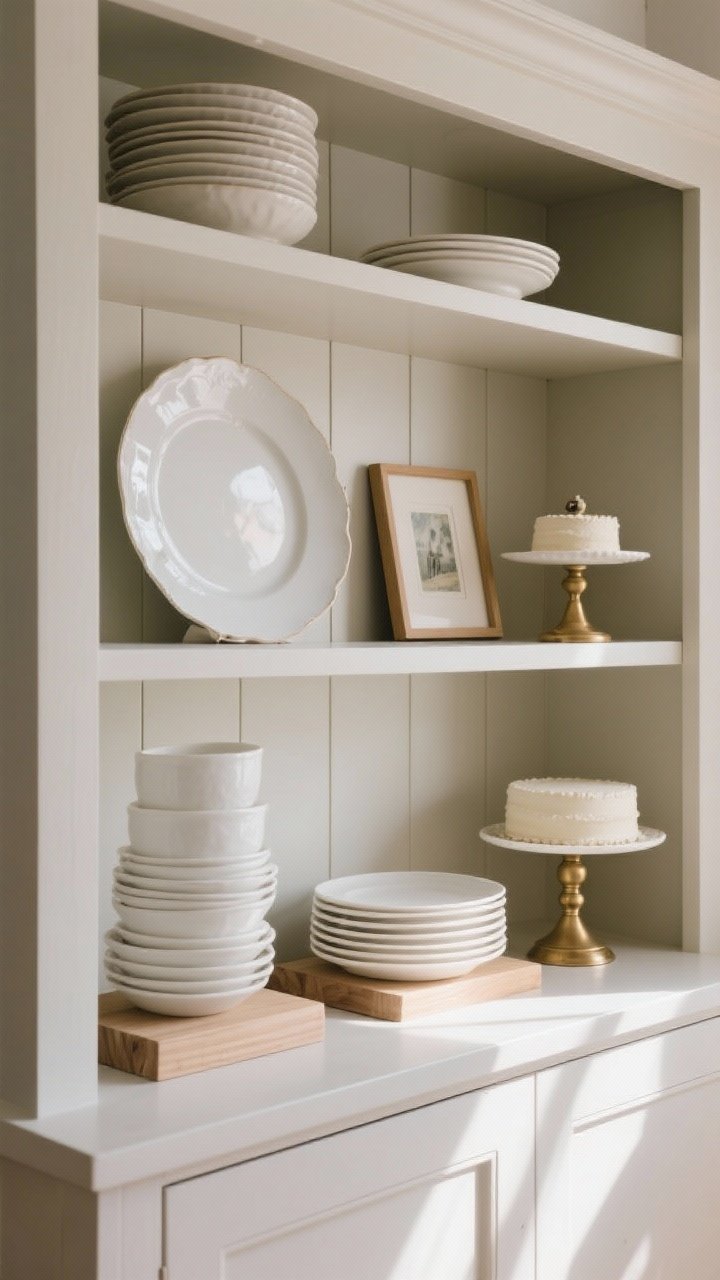
Flat rows = snooze. Varying heights creates movement and makes your eye travel. Use stands, stacks, and leaning items to build depth without cramming.
Easy height tricks
- Stack plates under a bowl to lift it.
- Lean platters or framed art against the back for a soft backdrop.
- Use cake stands or inverted bowls to elevate small items.
FYI: Aim for a “tall-medium-low” rhythm across each shelf. It’s oddly satisfying.
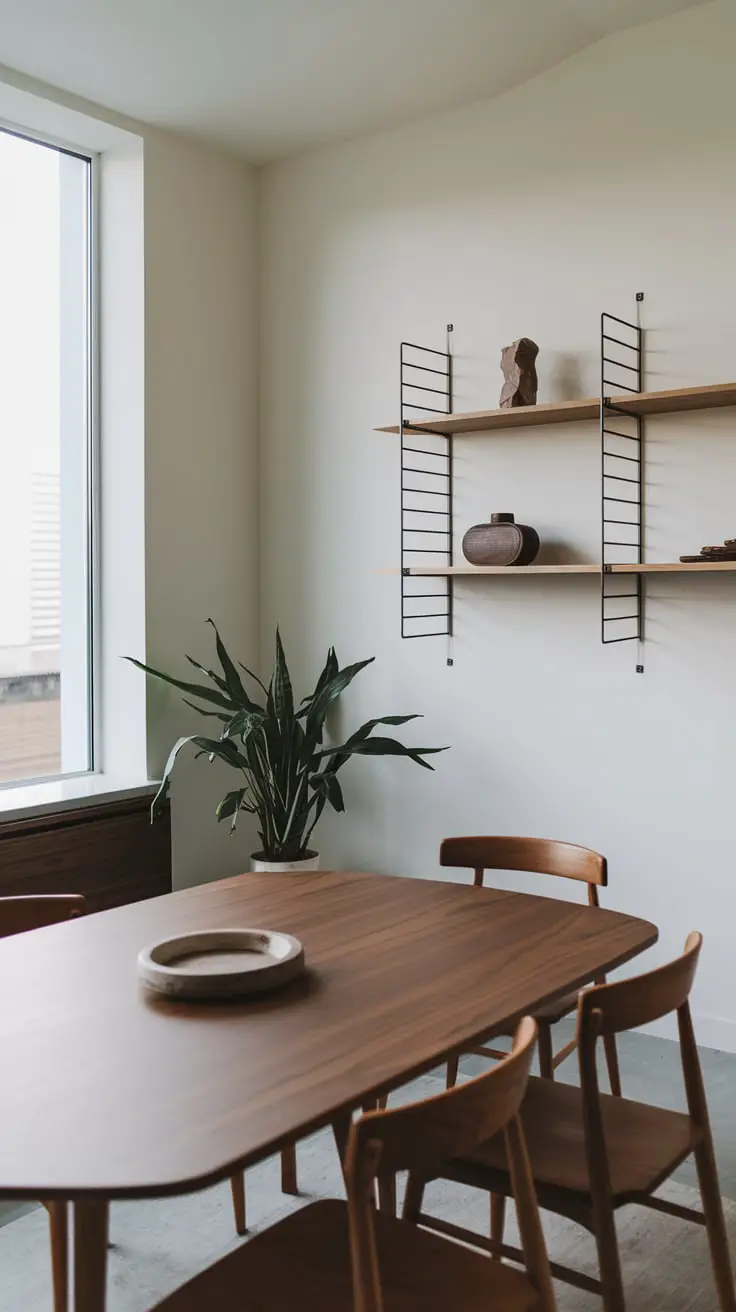
3. Mix Materials for Texture and Warmth
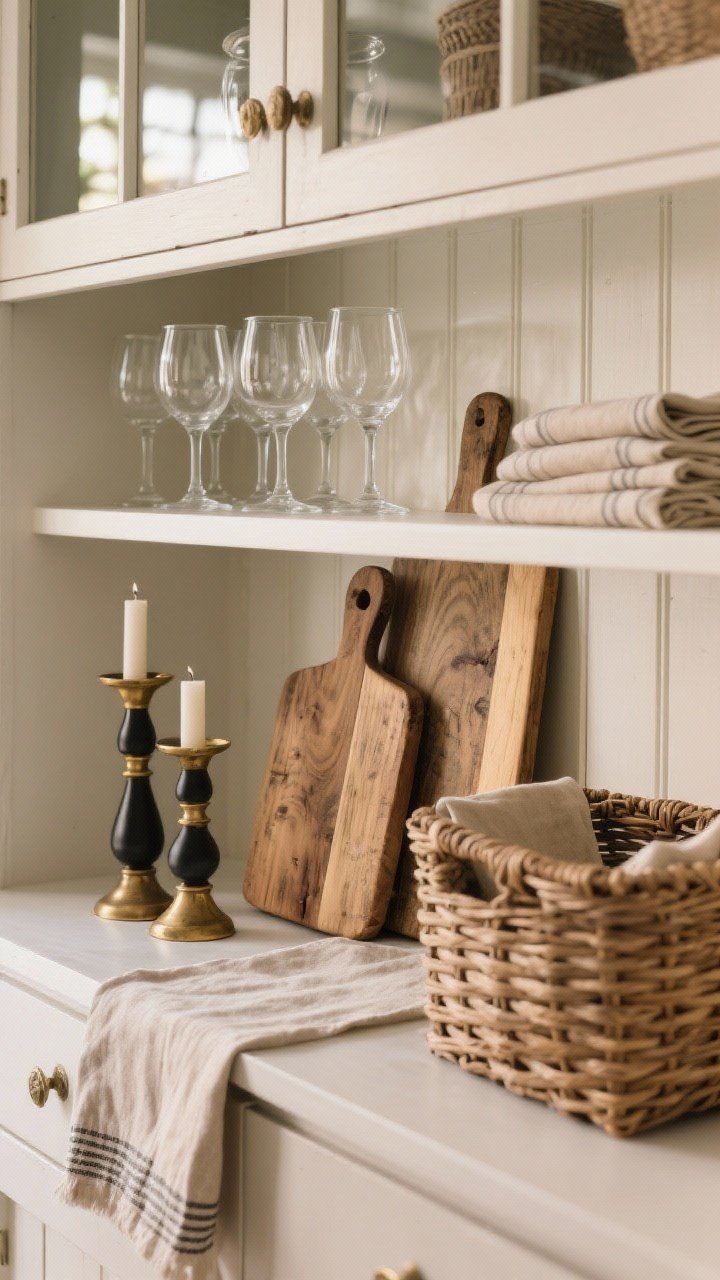
All ceramic or all glass can feel sterile. Mix in wood, woven textures, glass, ceramic, and a little metal to make it feel collected and cozy. Texture = instant polish.
Material mix ideas
- Wood boards behind glass stemware.
- Woven baskets for hidden storage that still looks pretty.
- Brass or matte black candleholders for a subtle sparkle.
- Linen napkins and a small runner folded on a shelf for softness.
IMO: If it looks too perfect, add something rustic—like a vintage cutting board—to balance it out.
4. Showcase Everyday Essentials (But Make It Cute)
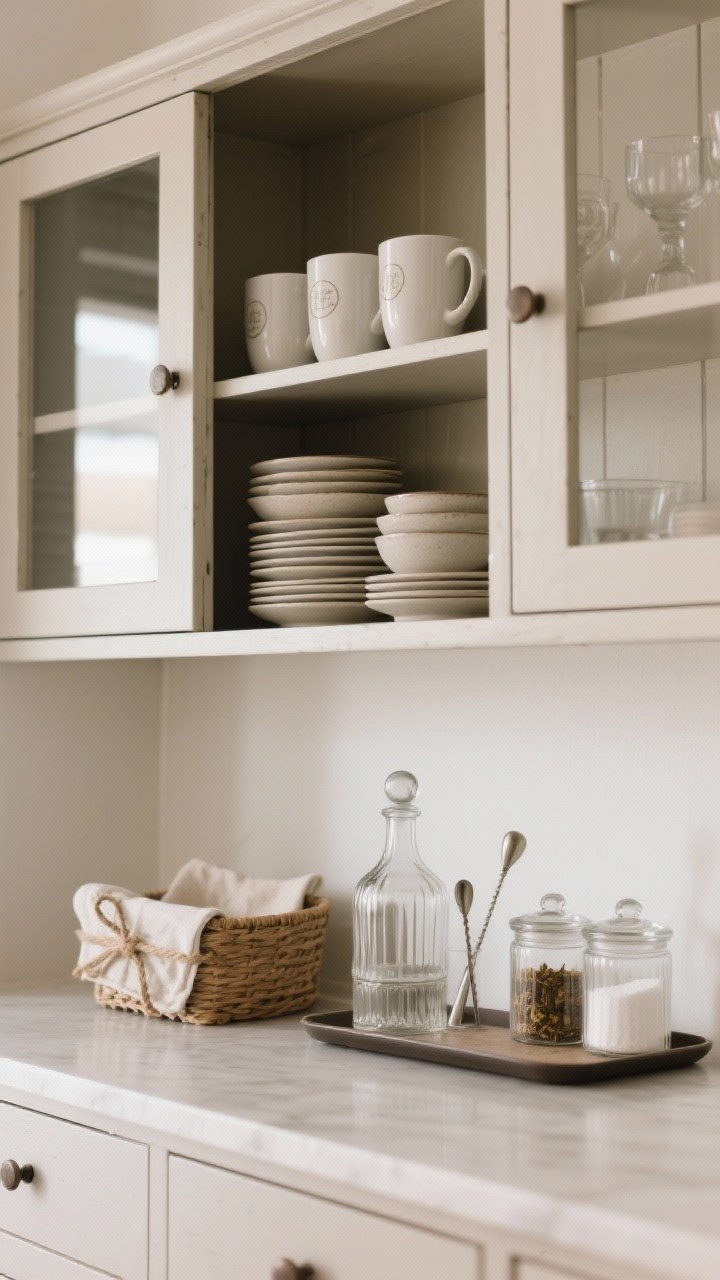
Let your useful pieces double as decor. If you actually grab these items, keep them front and center so your hutch looks lived-in, not museum-y.
Functional displays that still look stylish
- Stacks of bowls beside matching mugs—easy reach, pretty display.
- Decanters or a small bar vignette on the bottom shelf.
- Cloth napkins tied with twine and tucked into a low basket.
Pro tip: Decant loose tea or sugar into lidded jars for that clean, cafe vibe.
5. Bring In Art and Personal Mementos
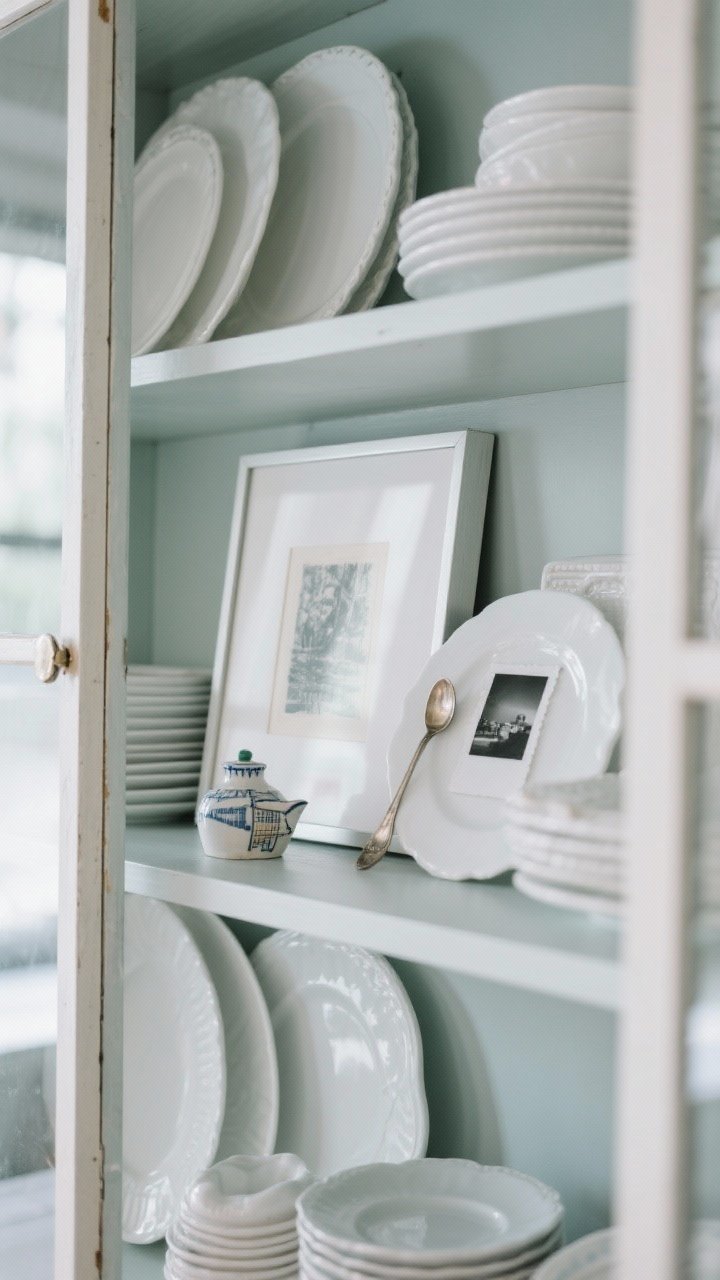
Your hutch doesn’t need to be all dishes all the time. A small framed print, a meaningful postcard, or a miniature landscape can break up all that porcelain and glass.
What to mix in
- Framed art leaned in the back with plates layered in front.
- Travel finds like a tiny ceramic from a trip or a vintage spoon.
- Black-and-white photos in thin frames for subtle personality.
Rule of thumb: One personal piece per shelf is enough. You’re going for curated, not scrapbook.
6. Style With Symmetry (Then Break It)
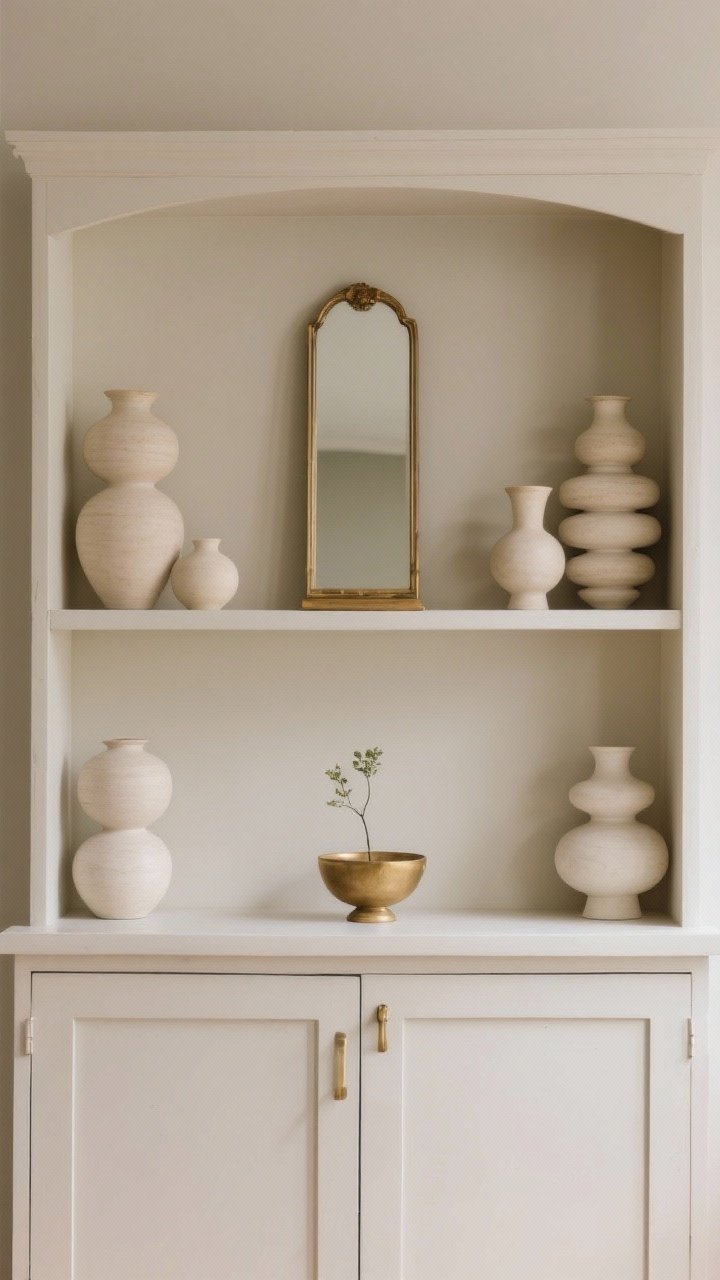
Symmetry is clean and satisfying, but perfect symmetry can feel stiff. Use it to anchor your shelves, then throw in a small curveball so it feels natural.
Try this formula
- Centerpiece: A tall object or framed art in the middle of a shelf.
- Balanced sides: Two similar stacks or vases on either side.
- Asymmetry twist: Add a small, off-center item (a bud vase or a small bowl) to break the grid.
FYI: The eye loves balance, but it stays interested with a tiny bit of surprise.
7. Edit Ruthlessly and Create Negative Space
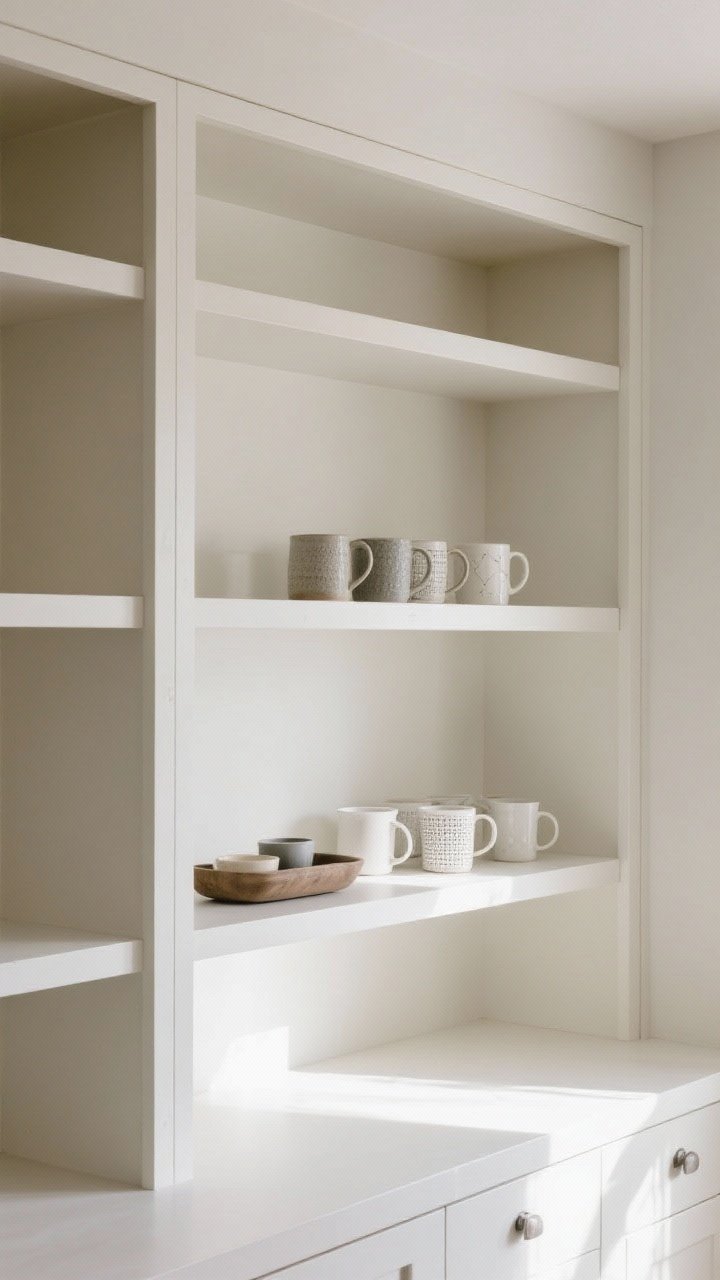
Clutter kills style. Leave breathing room between groupings so each display has a moment. A little negative space looks high-end and lets textures and shapes shine.
Editing checklist
- Remove duplicates. You don’t need 12 mugs on display. Keep 4-6.
- Group small items into a tray or bowl instead of scattering them.
- Limit each shelf to 3–5 groupings max.
Pro tip: If it looks crowded, take one thing away. Nine times out of ten, that’s the fix.
8. Play With Seasonal Swaps (Without Starting From Scratch)
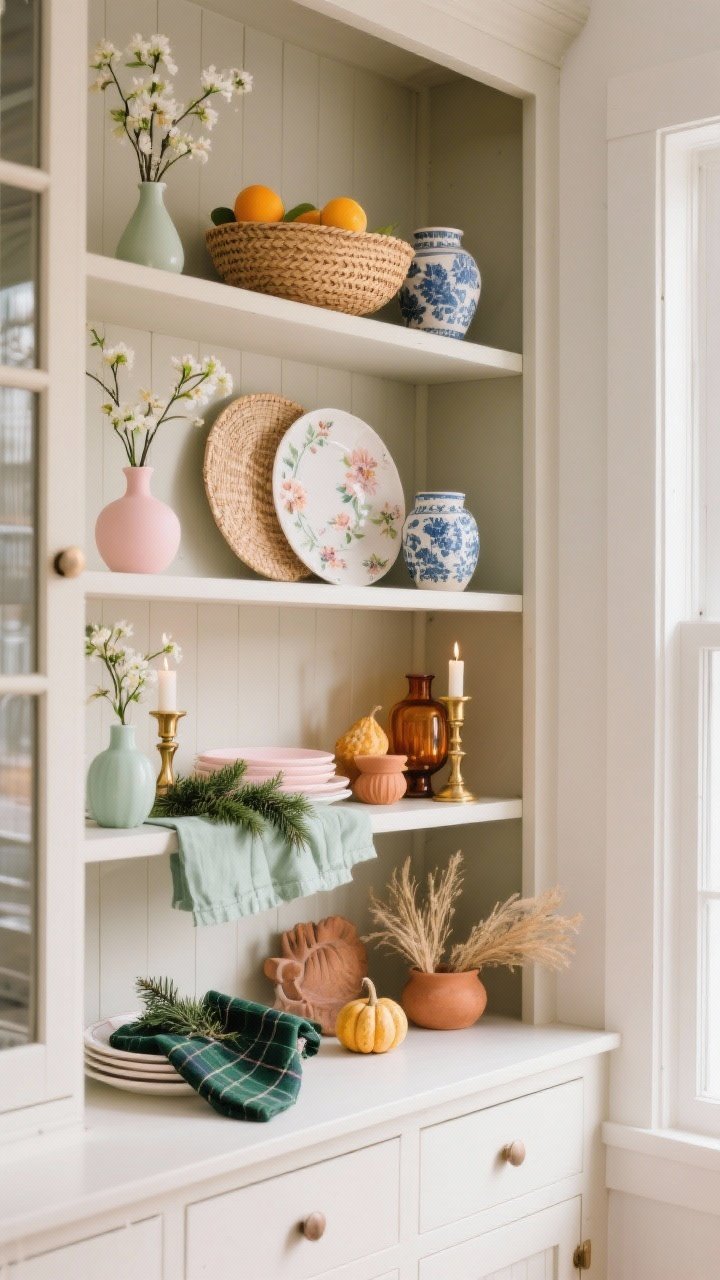
Keep your base neutral and rotate a few accents each season. It’s low effort, high impact, and makes your hutch feel fresh year-round.
Seasonal swap ideas
- Spring: Pastel bud vases, floral plates, linen in soft blush or sage.
- Summer: Citrus bowl, rattan accents, blue-and-white pottery.
- Fall: Amber glass, terracotta, mini gourds or dried grasses.
- Winter: Brass candlesticks, evergreen sprigs, deep green or plaid napkins.
Pro tip: Keep a shoebox labeled by season with your swap-in pieces. Future you will be thrilled.
9. Upgrade the Backdrop for Instant Drama
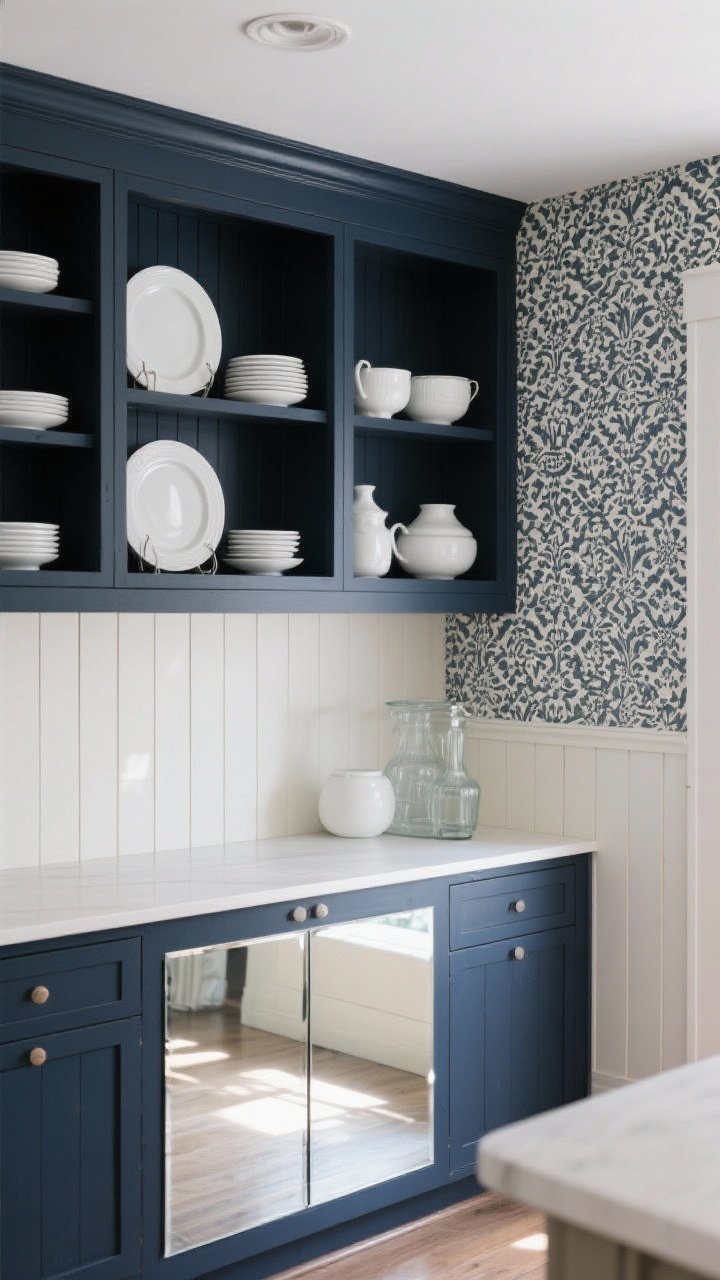
The back of your hutch is prime real estate. A quick refresh here can transform the whole piece. No need for a full reno—just a smart backdrop.
Easy backdrop upgrades
- Peel-and-stick wallpaper: Pattern without commitment.
- Paint: One deep color to make white dishes pop (think navy, charcoal, forest).
- Beadboard or shiplap panels: Texture that feels custom.
- Mirror sheets: Reflects light and makes small dining rooms feel bigger.
IMO: Dark backs are ridiculously flattering to glass and white ceramic. Instant drama, zero attitude.
10. Create Mini Vignettes With Intent
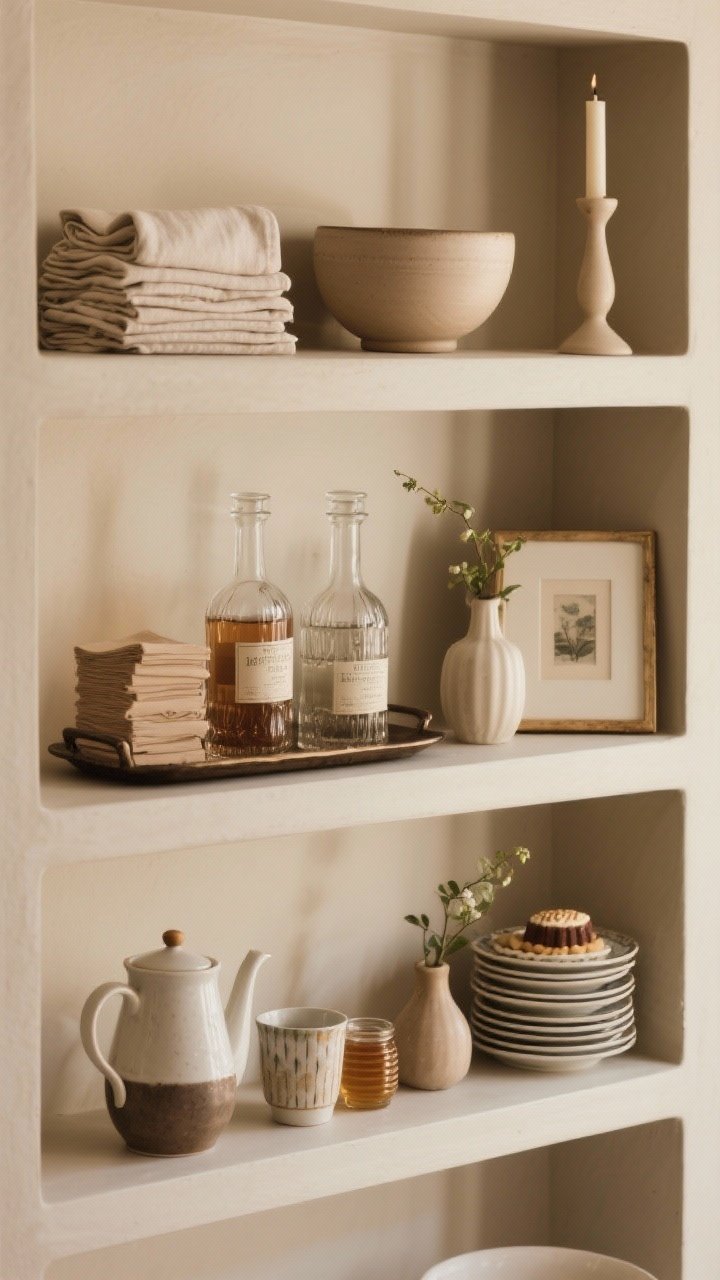
Think of each shelf as a tiny scene. Three to five objects, a mix of heights, a common thread—that’s the secret to elegant, magazine-worthy styling without trying too hard.
Vignette formulas to steal
- Soft + Sculptural: Stacked linen napkins, a round bowl, and a slender candlestick.
- Vintage Bar: Two decanters, a low tray, and a stack of cocktail napkins.
- Everyday Tea: Teapot, two mismatched mugs, and a small jar of honey.
- Artful Display: Small framed print, a bud vase, and a stack of dessert plates.
Pro tip: Repeat shapes across shelves—circles, cylinders, rectangles—so everything feels related without being matchy-matchy.
Bonus: Quick Styling Dos and Don’ts
- Do group similar items in odd numbers—3s and 5s are visually pleasing.
- Do mix shiny and matte finishes for depth.
- Don’t line everything up flat against the back. Layer, always.
- Don’t display chipped or stained pieces unless they’re intentionally rustic.
Lighting Makes a Difference
If your hutch is dark, add puck lights, a small battery-operated lamp, or LED strips tucked under a shelf. Glass and metallic accents will sparkle and make your whole display look luxe.
Maintenance Made Easy
- Dust weekly with a microfiber cloth.
- Rotate fragile pieces away from high-traffic edges.
- Keep everyday items at arm’s reach and “just for show” pieces higher up.
Ready to give your dining room hutch a glow-up? Start with a color story, edit like a minimalist, and build a few vignettes that make you smile every time you set the table. Small tweaks, big payoff—and yes, your guests will notice. Go style that hutch like the design main character you are.